You don't need to book a survey — or hand your number to a lead site — just to find out whether your roof is worth a second look. Three things decide most of it: which way your roof faces, how much sun it actually gets, and how much usable space is up there. All three can be estimated from your postcode in about two minutes. This guide walks through exactly how, using Solarable's free roof check, and where the estimate stops and a real survey has to take over.
What actually makes a roof suitable
Before any tool, it helps to know what you're checking for:
- Direction (orientation). South is best, but east–west roofs are very workable in 2026 — they spread generation across the day. North-facing alone is the only direction that's usually a struggle. More on that in the best roof direction for solar.
- Sunlight through the year. A clear roof in the south of England gets meaningfully more usable sun than a shaded one further north. See how much sun your roof gets.
- Usable space. Chimneys, dormers, and roof lights all eat into the area panels can sit on.
- Shading. Trees and neighbouring buildings at certain times of day can pull output down.
A desktop check can estimate the first three well. The last one — shading — is where a surveyor on site still beats any satellite read, which is why the check ends with a survey, not instead of one.
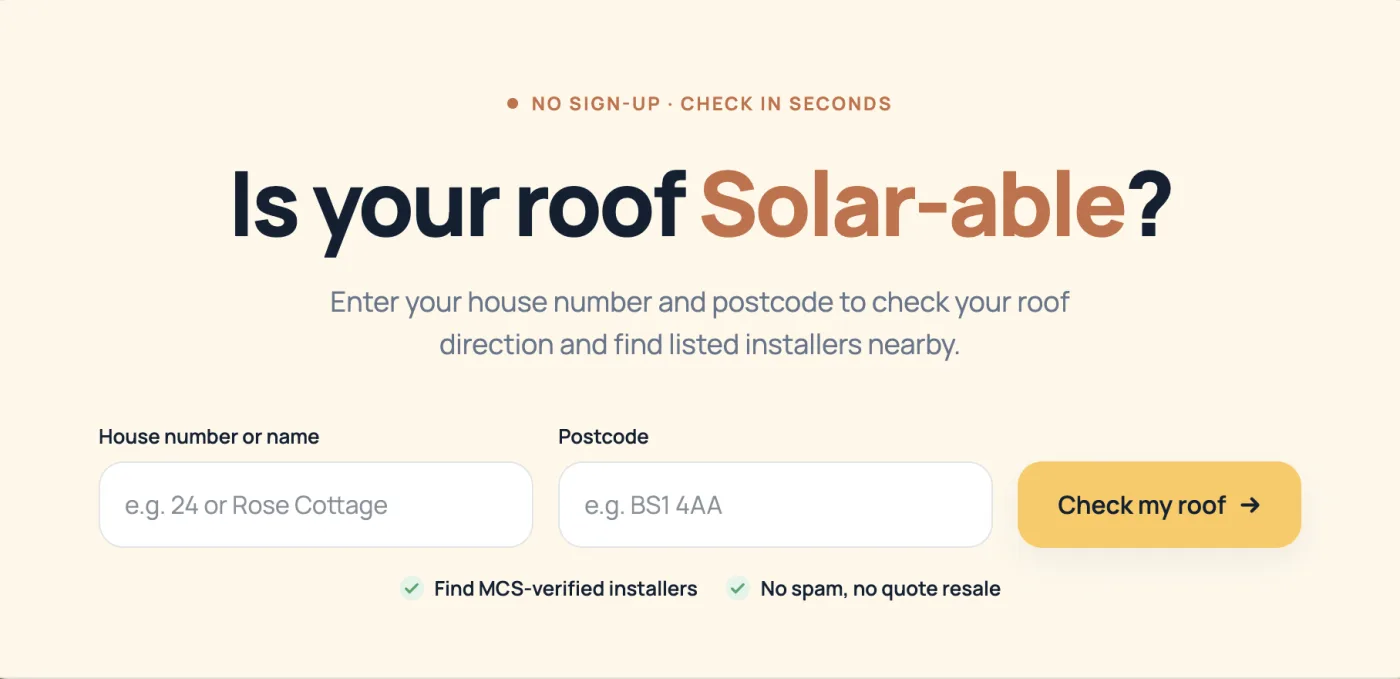
Step 1: Enter your postcode and house
Start on the roof check. You enter your house number or name and your UK postcode — nothing else, no email, no phone number. Your home resolves on a map so you can confirm it's the right roof.
Step 2: See your roof from above, section by section
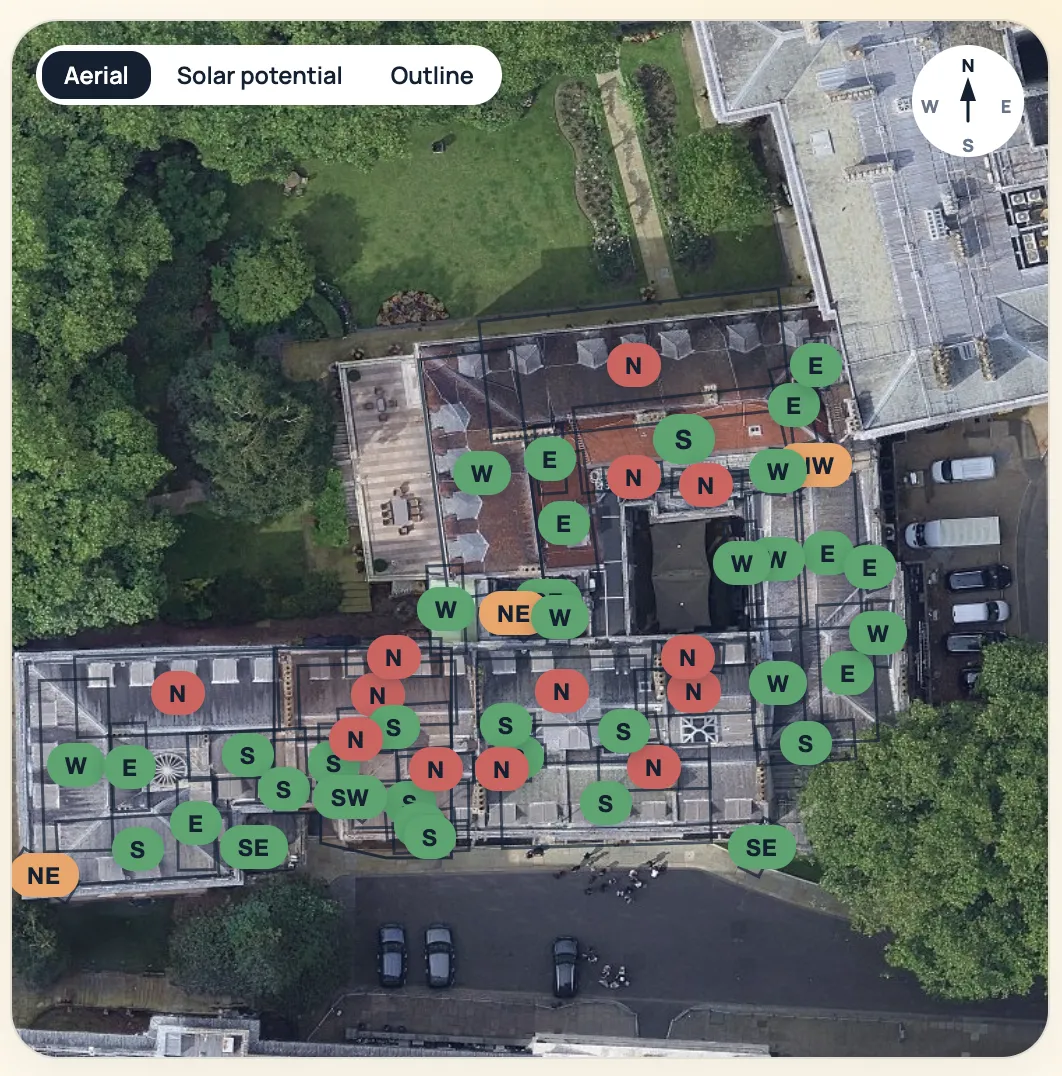
Solarable pulls an aerial view of your roof and, using Google's solar data, marks each section by the direction it faces and roughly how much sun it gets. Green sections are the promising ones. This is the part no quote form shows you up front — your actual roof, broken down, before anyone visits.
Step 3: Read your Solarable Report
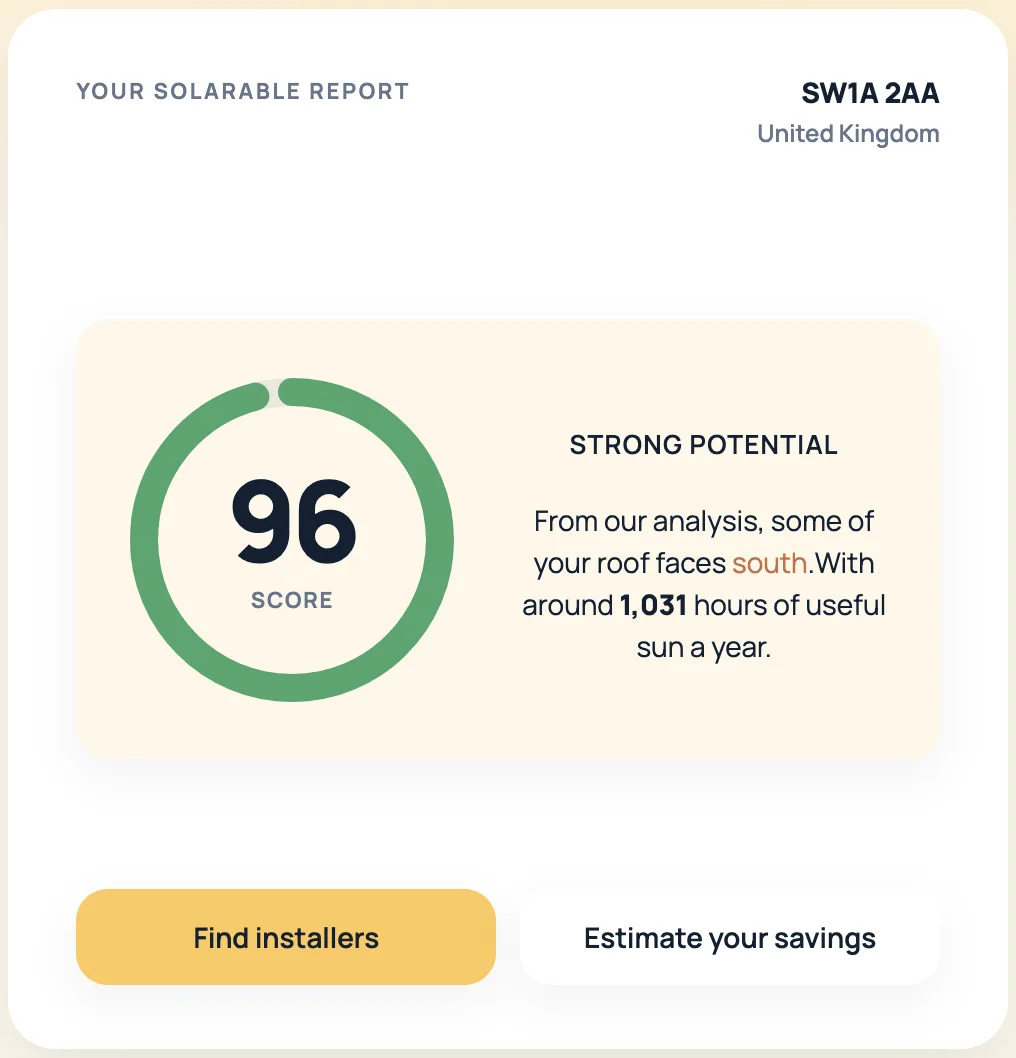
This is where the estimate comes together. The report gives you, in plain language:
- A Solarable Score — a single read of how promising the roof looks.
- The direction your roof appears to face — phrased as an estimate, because that's what it is from above.
- A suitability read — strong, possible, or difficult — with the reason behind it.
- A caveat spelling out what the desktop check can't see.
Alongside it, you get an honest savings range — not a single, suspiciously precise figure:
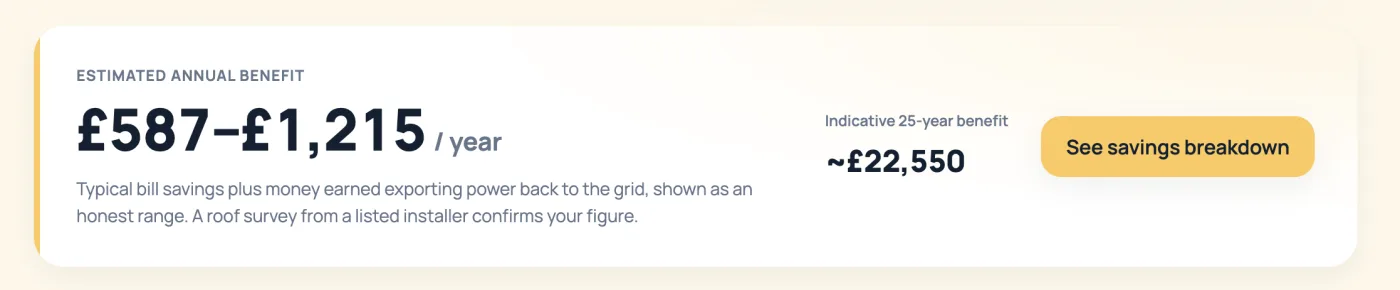
Notice the language: "some of your roof faces south", and a benefit shown as a range, not a single number. That's deliberate. A view from above can read direction and rough sunlight well; it can't measure your rafters, your shading at 4pm in December, or the state of your tiles. So the numbers are honest ranges, not false certainty.
Step 4: See who's listed in your area
If the read looks promising, the report shows solar installers listed as covering your postcode. These are listings, not lead-routing — you contact whoever you like, directly, and nobody resells your details. Browse listed installers any time.
When the estimate is enough — and when it isn't
A desktop check is enough to answer "is this worth pursuing?" If your roof comes back as strong or possible, you've saved yourself the guesswork before spending a single phone call. If it comes back difficult, you've learned that early and cheaply.
What a desktop check can't settle, and a survey must:
- Whether your roof structure can carry the weight
- Exact shading across the day and across the seasons
- The condition of tiles, battens, and flashing
- Your consumer unit and where an inverter can go
So treat the check as the filter, not the verdict. We always recommend a full installer survey before you commit — the report is there to tell you whether booking one is worth your time.
Frequently asked
Do I need to give my email or phone to check? No. You enter a postcode and house, you get a report. There's no account and no lead form.
Is it accurate? It's a good estimate of direction and sunlight from satellite and modelled solar data. It is not a survey, and we don't pretend it is — final suitability always needs someone on the roof.
My roof faces north — is it pointless? Not always, especially if you have an east–west spread or a second pitch. The check will tell you how it reads. See solar panels on a north-facing roof.
Related
